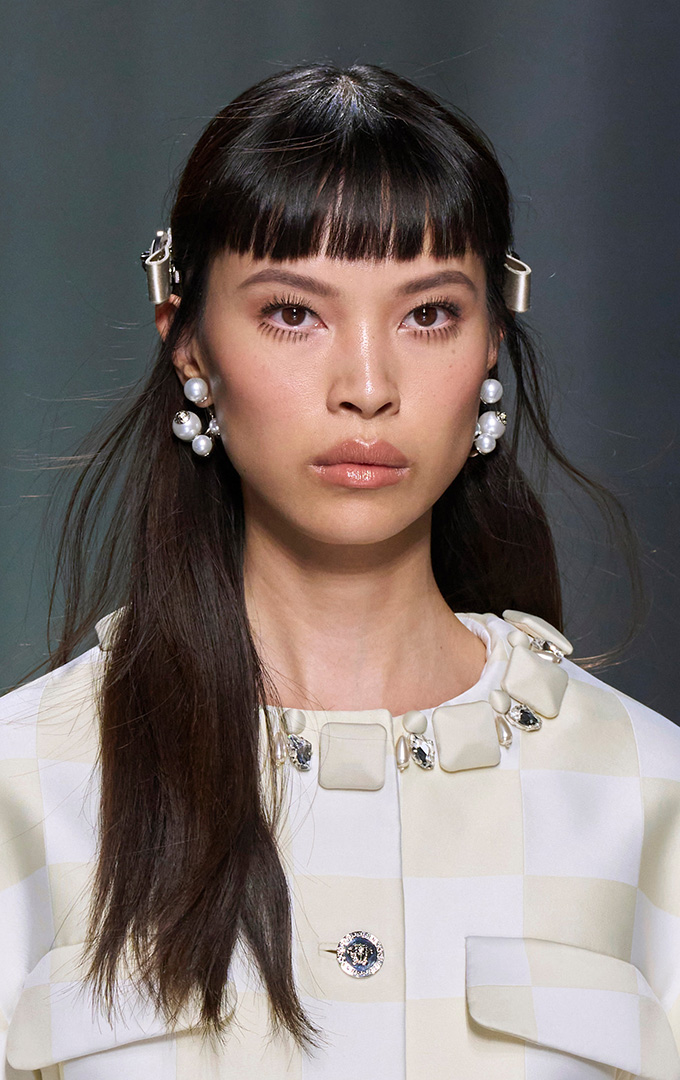
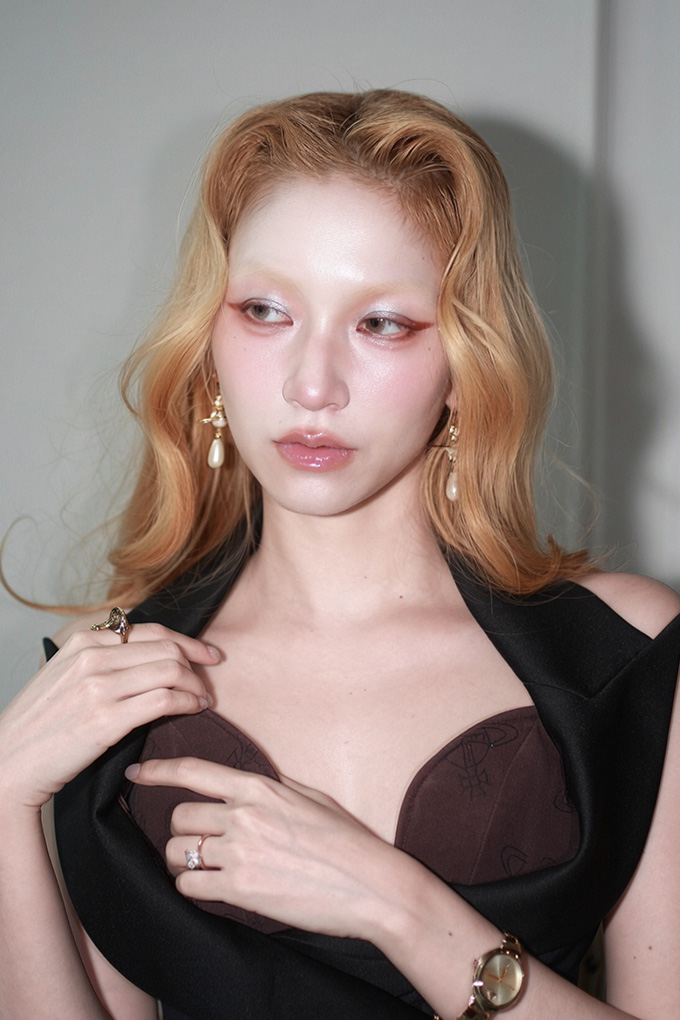
If heavy full coverage make-up reigned supreme last decade, then it’s fair to say this season’s clean girl glam has taken the front row. The beauty sphere has changed significantly, and we’ve moved into an era where natural, lit-from-within make-up takes centre stage. Think lighter bases, breathable textures, and the effortless ‘your skin but better’ philosophy that defines the clean girl renaissance, characterised by flushed cheeks and glowing skin.
It’s no secret, then, that blush has been having a moment. It’s an essential step in one’s beauty routine, imbuing life and colour to an otherwise minimal base with trends like sunset blush and the boyfriend blush taking it well beyond a mere hint of colour. The latest trend the internet is obsessing over? The watercolour blush, which embraces a sheer, soft, and diffused look that seamlessly blends into the skin, giving it an almost painterly effect. Think of it as literally mimicking the effect of watercolour paint on paper, a soft veil of product applied to the cheeks with no harsh lines. The focus is on real skin, visible textures, and that ‘glow from within’ effect. It’s equal parts fresh, romantic, flattering, and ethereal—basically everything we want our makeup to give right now.
Below, professional make-up artist Kenneth Chia gives us the lowdown on how to achieve the watercolour blush trend the right way.
The watercolour blush look feels so soft and fresh. What’s the key to achieving that seamless, translucent finish without it looking patchy or muddy?
First, make sure your base/foundation is seamless. There should be no flaking, streaking or caking before you start to apply any sort of blush. Secondly, resist the temptation to over-blend your blush. Only blend the edges to get the perfect watercolour blend. Finally, set only the edges with powder, leaving the middle dewy and wet. Another trick to keeping the blush looking really dimensional is using both cool and warm tones on a face, as both of those undertones appear when we naturally flush. Those who are really tan will find that just using warm tones tend to make them look muddy; a tiny pop of cool pink on top can help to keep the look fresh.
How do you choose the right blush texture or formula to get that fluid, painterly effect?
In the spirit of de-influencing and un-complicating things: It doesn’t really matter what blush you use. If it’s dewy or leaves a nice shine when applied, it’ll work. The key is using several shades of blush, just like in watercolour paintings, to get that perfect mix of tones. As a rule of thumb, the heavier your make-up, the heavier your texture of blush should be. If you’re someone who wears very little make-up, tints are better for a one and done effect. Tap them into your cheeks with your fingers and try not to make it too perfect.
The goal is to get it right where you flush after a good sauna steam or workout for the most natural watercolour effect. Beginners should start with creams as they are the most forgiving. Stay away from formulas that promise self-setting properties as they get harder to blend as time goes on, therefore making any mistakes harder to correct.
View this post on Instagram
What are your go-to tools or techniques for blending and why do they matter for this specific trend?
I often use a mix of brushes, fingers and sponges. But again, it does not have to be complicated for the average user—I would focus more on matching the brush/sponge to the size of the area I’m working on. For example, I would choose a brush half the size of my cheek bones. instead of a large powder brush. Another crucial part is controlling the pressure in which you apply the blush. The watercolour effect comes from very gentle, relaxed tapping, instead of buffing motions.
I tend to gravitate towards synthetic brushes that look and feel like a cat’s paw, for the best blends. That said, fingers are great for cream products. Warmth from our fingers melt the cream and makes it more radiant and easier to apply.
When you’re creating that diffused blush, what’s the biggest mistake people make and how do you correct it?
Applying brush straight from the tube or brush on to the face. It rarely ever works out the way you think it’s gonna work out. Make-up artists always take off the excess on the back of our hands, and make sure the bristles are evenly coated, before applying to the face.
Singapore’s hot, humid weather can make it tricky to keep dewy make-up intact. What’s your advice for making this trend last all day without melting away?
Here’s a real straightforward tip that every celebrity make-up artist knows, but is rarely talked about. We tap a tiny bit of clear lip balm on top of a matte, long wear blush. It’ll look exactly like a dewy blush but now with much higher staying power.