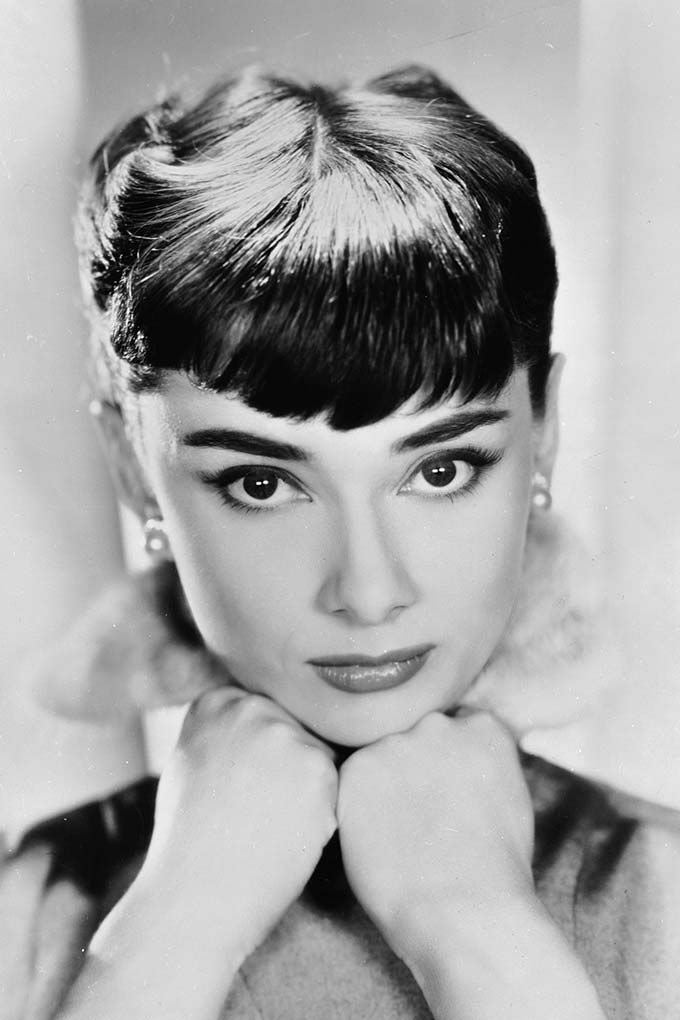
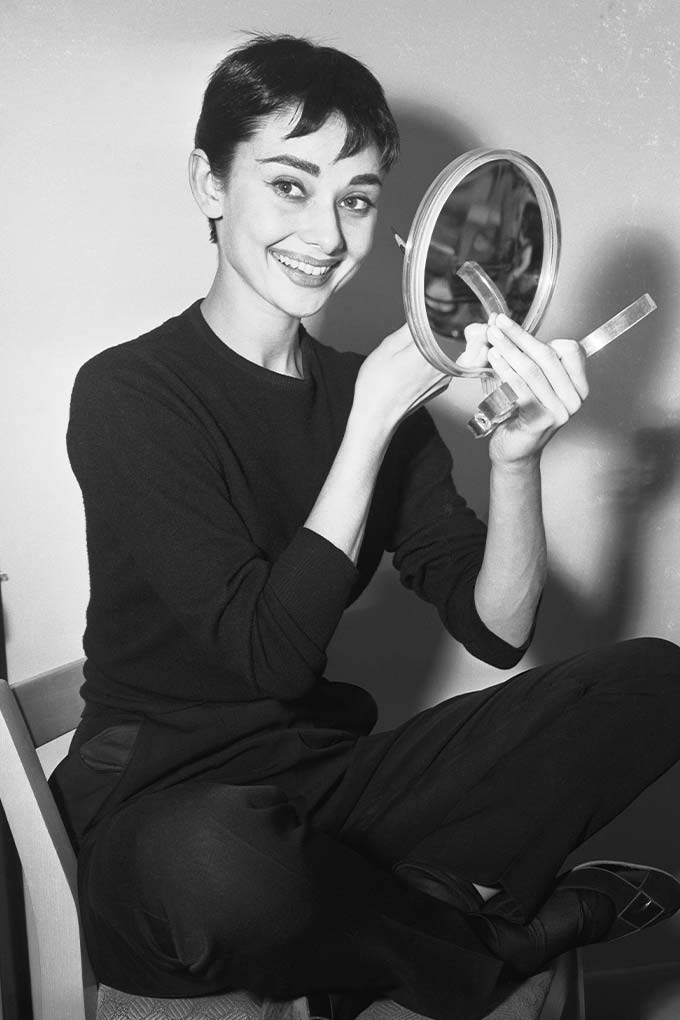
When it comes to creating the ultimate feline flick, look no further than Hollywood legend Audrey Hepburn. “Her almond eyes were synonymous with the winged eyeliner that adorned them, and the perfectly defined lashes that fluttered as she gazed through the window of Tiffany & Co, eating a croissant,” says Vogue make-up artist, Celia Burton. “When Alberto de Rossi died, Hepburn’s make-up artist of 25 years, she was said to have declared she’d rather not work again. A perfect tribute to the enormous role that make-up — and the man applying it — had played in her career. Legend has it that de Rossi would apply mascara and then separate each individual eyelash with a safety pin to emphasise her doe eyes.”

Indeed, famed for her feminine brows and signature cat-eye, Hepburn’s was a beauty that surpassed all others. And one that will be under the spotlight once more thanks to a new documentary on the Breakfast at Tiffany’s star, out 30 November. Masterminded by the same BAFTA-nominated team behind 2018’s McQueen, a film about Alexander McQueen, Audrey takes an intimate look at one of cinema’s iconic actresses, featuring never-seen-before footage as well as interviews with her son, Sean Hepburn Ferrer, Givenchy’s former artistic director Clare Waight Keller, and Tiffany & Co design director emeritus John Loring. Though the film promises to uncover the woman behind the red-carpet glitz and glamour, focusing on the psychological effects of her difficult upbringing, it will no doubt bring some of her iconic beauty looks back into focus, too.

To mark the occasion, Vogue make-up artist Celia Burton breaks down the steps to recreating Audrey Hepburn’s signature cat-eye flick.
Step 1: use liquid eyeliner to mark the position
Look straight into a mirror, with your chin lowered. Consider your eye shape, and use a liquid liner—my favourites are Glossier Pro Tip or Voyeur Waterproof Liquid Liner by Hourglass—to mark out with a dot or dash where you want the ‘flick’ to finish. For the Hepburn effect, I recommend a sharp, squat flick, angled upwards and outwards from the end of the lash line at 45 degrees.
Step 2: drag the eyeliner across the eye
Tip your head back, so now you’re looking down at the mirror, and drag the liner across the eye from the inner corner, staying as close to the lash line as possible. Always have a cotton bud and oil-free make-up remover to hand, to neaten as you go.
Step 3: connect the dots and thicken up
Stop when you reach the end of the lash line, return to looking straight into the mirror, and join the dots from the marked spot to the main event. You can leave this skinny, as a subtle flick, or thicken it out at the wing—just make sure to keep the 45-degree angle.
If you prefer your liner soft or blurred, use a gel-liner pencil in the same way—my favourites are Charlotte Tilbury Rock ’N’ Kohl pencils or Marc Jacobs Highliner Gel Eye Crayons—and smudge it along the lash line with a brush or finger before it sets, then tidy up the bottom of the flick with a cotton bud and oil-free make-up remover.
Step 4: finish with lashings of mascara
Finish with an intensely black, lengthening mascara such as Nars Climax Mascara or Unlocked Instant Extensions Mascara by Hourglass, making sure not to clump the lashes in tribute to Alberto de Rossi and his safety pin…
Audrey is on DVD and digital download from 30 November


