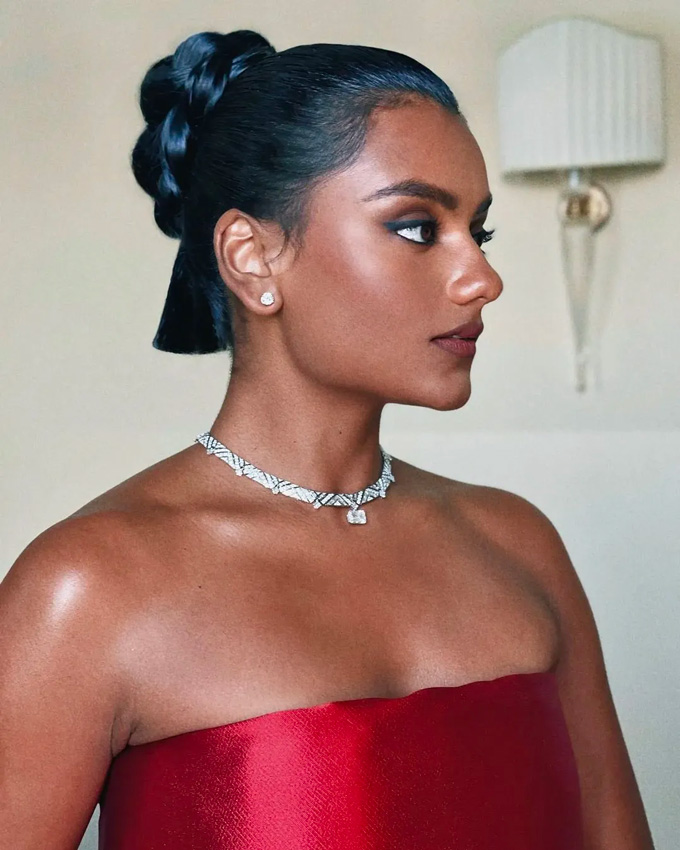
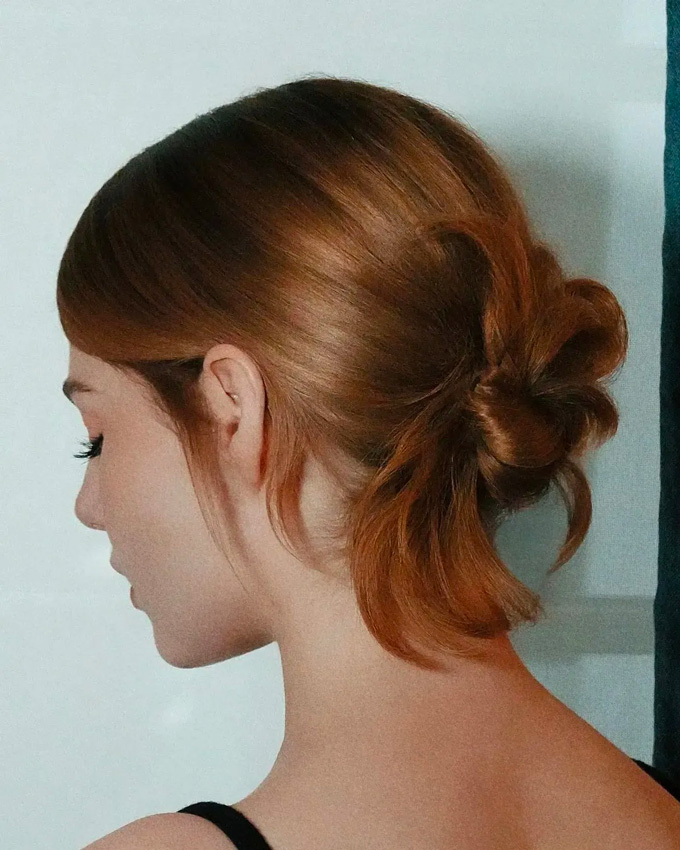
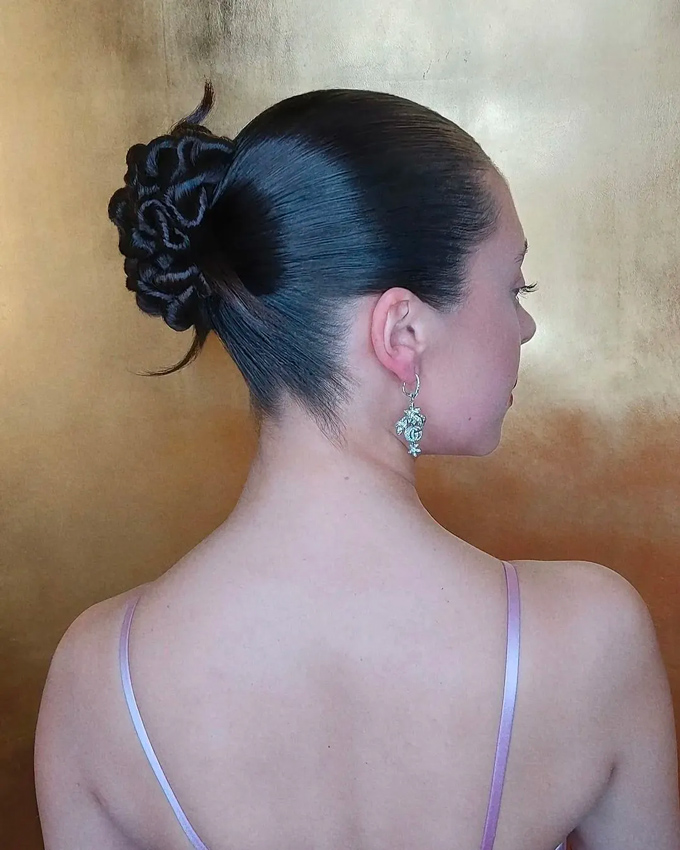
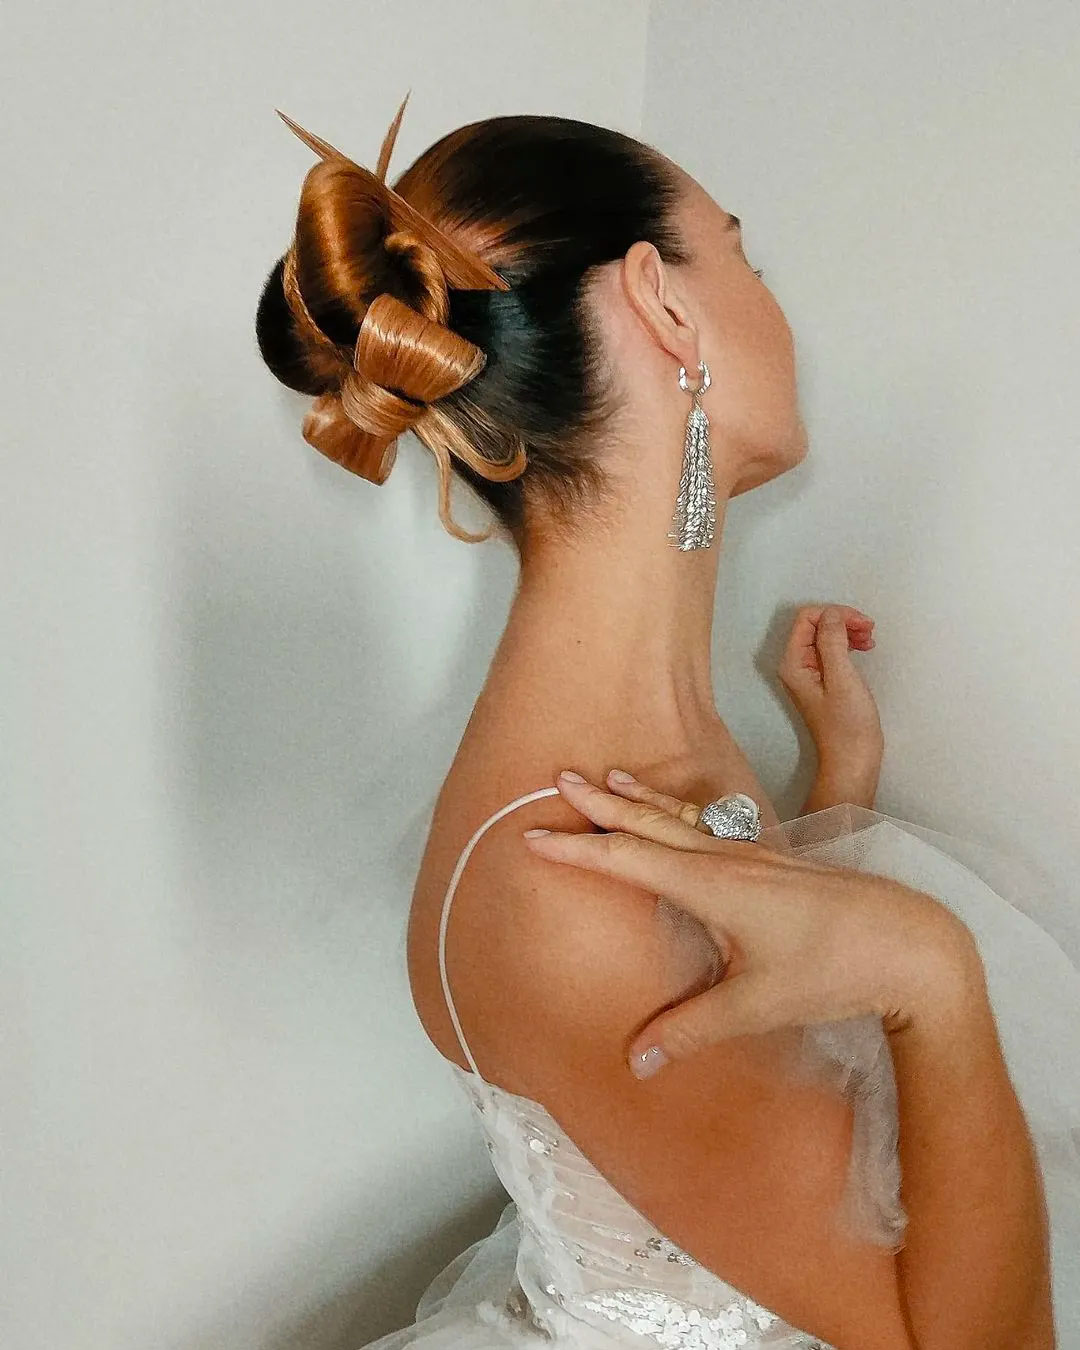
Forget the throw-up-and-go top-knot you know and love: there’s a new, more polished alternative in town–and it couldn’t be cooler. One of summer’s biggest hair trends, the sculptural bun puts an architectural spin on what has traditionally been regarded as a simple updo. Made popular by talented hairstylist Halley Brisker, celebrity fans of the style include Lily James, Simone Ashley, Eve Hewson, Lucy Boynton and Rosie Huntington-Whiteley—all of whom are clients of Brisker’s.

While some of Brisker’s mesmerising updos feature the shiniest of bows (not accessories, but fashioned from hair), others are plaited, rolled and punctuated with metal hardware. Usually slicked back from the wearer’s face, Brisker’s origami styles are a perfect example of “business at the front, party at the back”—and naturally, we are here for it.
He puts his next-level hair creativity down to the synergy between himself, his client and their wider team (including their stylist), as well as his experience working with some of the hairstyling greats, like Malcolm Edwards and Eugene Souleiman. In addition, he has a visual “library” in his head for inspiration, ranging from “Cecil Beaton imagery or, on the other end of the spectrum, animé”.


“Hair like this is all about perception of shapes,” he tells me over the phone. “If you’ve got one shape coming out of the back of someone’s head in one direction, where do you need to construct another one to offset or balance it slightly, so that it reads correctly to the eye? I guess it’s a bit like sculpture—there are ways to do things that make the silhouette more attractive to somebody looking at it, you know?”


He makes it sound easy, but having tried (and failed) to create a very simple slicked-back style myself before, it really doesn’t look it. He likens mastering the art of updos like these to learning to drive. One moment you’re hyper-aware of the clutch, gear stick and brakes and trying to coordinate your limbs, the next you’re driving on autopilot without a care in the world. “Suddenly you understand different hair textures really well and it becomes less laborious,” he says. “Some hair types will fight you, while others will require some hair padding or additional accessories to make it work. You get to a stage where it begins to flow.”
He often uses hair padding–which he describes as a bit like cotton wool, but wiry—as a foundation, to help him mould hair into different shapes: “The hair goes around it so you are better able to form different shapes in the hair,” he explains. “You can create massive rolls with it or pad hair out and create volume—it just gives some structure.” Other essential accessories include a good set of pins (his preferred are Frenchies because they’re flocked with velvet to hold firm in the hair), and grips, alongside a bungee hook, which can be used to create that really tight, snatched look. (Normal hair ties are limited in how tight they can go, so the style can end up sagging.)


Of course, a statement look requires healthy hair as a base, and for that Brisker turns to Olaplex. “The No 6 Bond Smoother and No 9 Nourishing Hair Serum go underneath everything,” he says. “The beauty of these products is that they’re so light they can be layered. I mix them both and apply to damp hair, and then style on top of that.” To keep the look in place, he uses holding products, like Bumble & Bumble’s Thickening Spray or Tigi’s Queen For A Day. He also name-checks Schwarzkopf’s Got2b Glued Blasting Freeze Hairspray to help make the shapes “rock hard”.
How to create a sculptural bun at home
Experiment
“Before starting a style like this, what I always advise is to stop worrying about how the look will turn out. A lot of the time when I begin these looks, I don’t have the finished look planned out in my head. Play with it and have fun—that way, you’re more likely to end up with a hairstyle you like.”
Prep
“Give yourself a really nice blow dry and make the hair really shiny and gorgeous. Worst case scenario, you don’t manage to create the bun, but you do still have really beautiful hair to go out with. Win-win.”
Section into ponytails
“You need as much hair to play with as possible, so my first port of call is to split a ponytail up into three pieces. If you stick with just one, you end up just twisting it into a croissant and that’s all you can really do. When you break it into three, you’ve got three different areas to play with. You could start with one pony and twist it, leaving the ends out. You could bend and pin another. And then plait a further section and roll it round, for example.”
Position a mirror wisely
“You’re going to need to be able to see the back of your head, unless you’re placing the bun on the top of your head. Find a set-up, whether in the bathroom or with two artfully placed mirrors, that allows you to see.”
Arm yourself with accessories
“Get a good set of pins and grips. To secure your ponytail, the best thing you can use is a bungee hook (an elastic band with a hook on either end) to secure the style tightly and prevent any loosening. I also love Frenchies, which come in all different hair shades, including grey, black, blonde, brown and red, because they don’t move.”
This story originally appeared in British Vogue.


